You can customize the upload options for all files in the queue, before starting the Upload process.
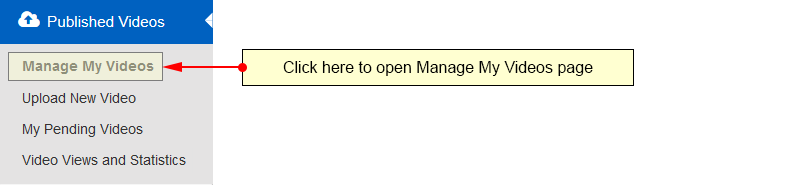
Logged in your user account, click on My Videos link from Upload Video section if you want to upload or upload videos:
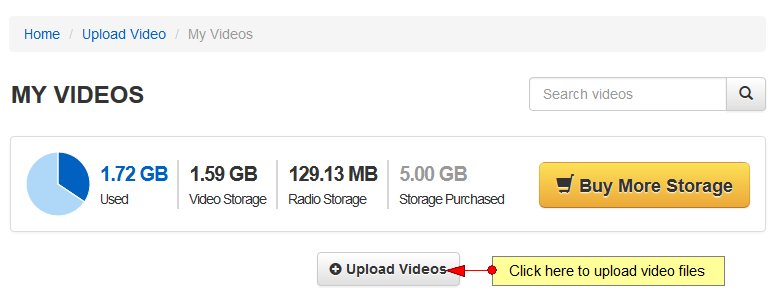
On My Videos page, click on Upload Videos button:
Select the files you want to upload and they will be added in the queue:
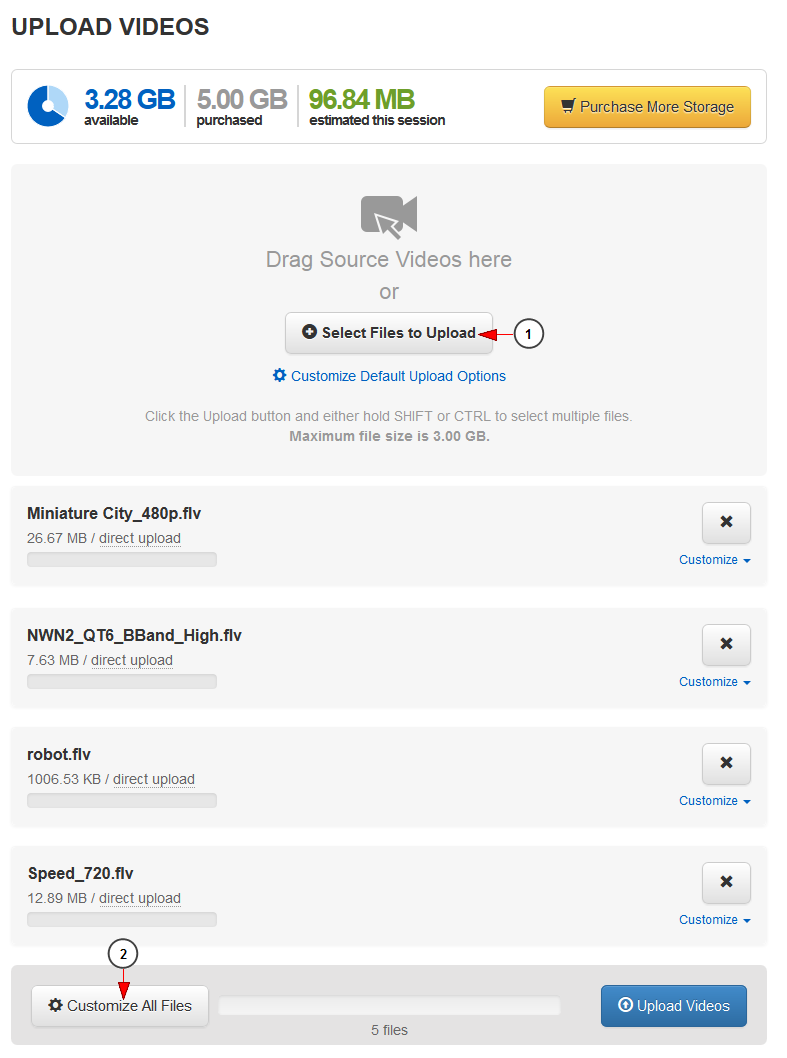
1. Click here to select the video files you want to upload.
2. Click here to customize all files in the queue.
An overlay window will be displayed and you can select the desired settings for all videos that are in your upload queue in the current session.
Important: the default options will be applied to all files that are already in the upload queue.

1. Click here to close the overlay window and cancel the customization process.
2. Click here to select one of your channels in order to attach the video to it.
3. Click here to select a category to which you want to attach the video (you can select multiple categories).
4. Click here to select if you want to encode the file.
5. Click here to apply the current settings.
6. Click here to reset the settings.
7. Click here to go to Encoding settings window.
Customize encoding settings for all video files in the queue
![]()
1. Check this radio button to leave the current settings unchanged
2. Check this radio button to encode the video at 1080p (the video will be encoded to 1920×1080 at 4000kbps).
3. Check this radio button to encode the video at 720p (the video will be encoded to 1280×720 at 2000kbps).
4. Check this radio button to encode the video at 480p (the video will be encoded to 854×480 at 900kbps).
Note: Encoding a video to a higher resolution than its original one will not improve the video quality, it will just increase its size and therefore more storage will be used.
5. Check this box to encode the video at 360p (the video will be encoded to 640×360 at 650kbps).
6. Check this box to encode the video at 240p (the video will be encoded to 428×240 at 210kbps).
7. Check this box to encode the video at 144p (the video will be encoded to 256×144 at 130kbps).
Note: The additional encoding formats (no. 5-7) allow adaptive bitrate devices to play the most appropriate video quality with the resolution and bit rate that best matches the viewer’s internet connection. The video playback can fluctuate from one quality to another without any interruptions or buffering (the quality of the video can be distinguishable only by a professional eye).
8. Click here to apply the current encoding settings.
9. Click here to go back to Video files details window.
10. Click here to go to Publishing settings window.
Customize publishing settings for all video files in the queue
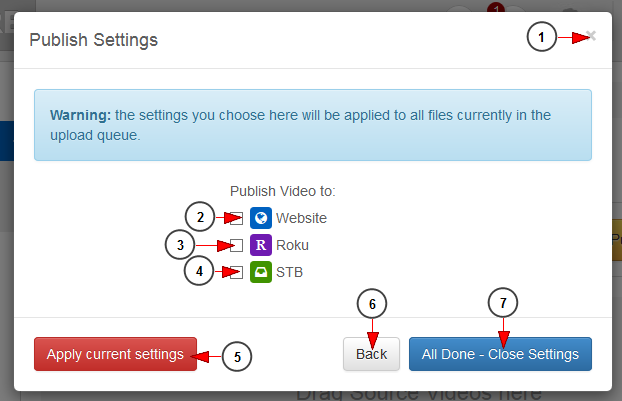
1. Click here to close the overlay window and cancel the customization process.
2. Check this box to publish the video on the website.
3. Check this box to publish the video on Roku.
4. Check this box to publish the video on STB.
5. Click here to apply the current settings.
6. Click here to go back to Encoding details window.
7. Click here to close customize settings window.